Let’s Build Your Cycleground Together
Our experts are here to support you every step of the way.
If you’re considering using our products, we warmly invite you to request an initial consultation.
• Free of charge
• Tailored advice based on your location, needs, and vision
• Guidance on layout, obstacle selection, and long-term development
We’ll help you take the first steps toward creating a Cycleground that’s safe, engaging, and built to grow with your community.
Trail Obstacle Concept:
Designed for Fun, Skill, and Growth
Our vision is to create modular trail obstacles that offer the perfect balance of fun, learning, and adaptability. These features ensure that riders of all levels can enjoy and grow—season after season.
EASY ASSEMBLY
Our obstacles are designed for quick and simple setup in any terrain.
• Ideal for seasonal use: easy to remove and reassemble
• No special tools or expertise required
• Perfect for parks, schools, and community trails
VISUALLY AESTHETIC
We believe trails should look as good as they ride.
• Clean, modern design
• Harmonizes with natural and urban environments
• Adds visual value to public spaces
CONSTANT CONDITIONS
Fabricated obstacles provide consistent riding conditions, ideal for skill development.
• Reliable geometry and surface
• Less affected by weather or wear than dirt-based features
• Supports repetition and progression
CHALLENGING BY CHOICE
Each obstacle is designed to be multi-technique.
• Riders can choose easy or advanced crossing methods
• Encourages creativity and personal style
• Grows with the rider’s skill level
CONTINUOUS DEVELOPMENT
Our modular system allows for ongoing trail evolution.
• Add new features over time
• Rearrange existing obstacles for fresh layouts
• Enables budget-friendly upgrades and community involvement
Steps to creating trail with obstacles
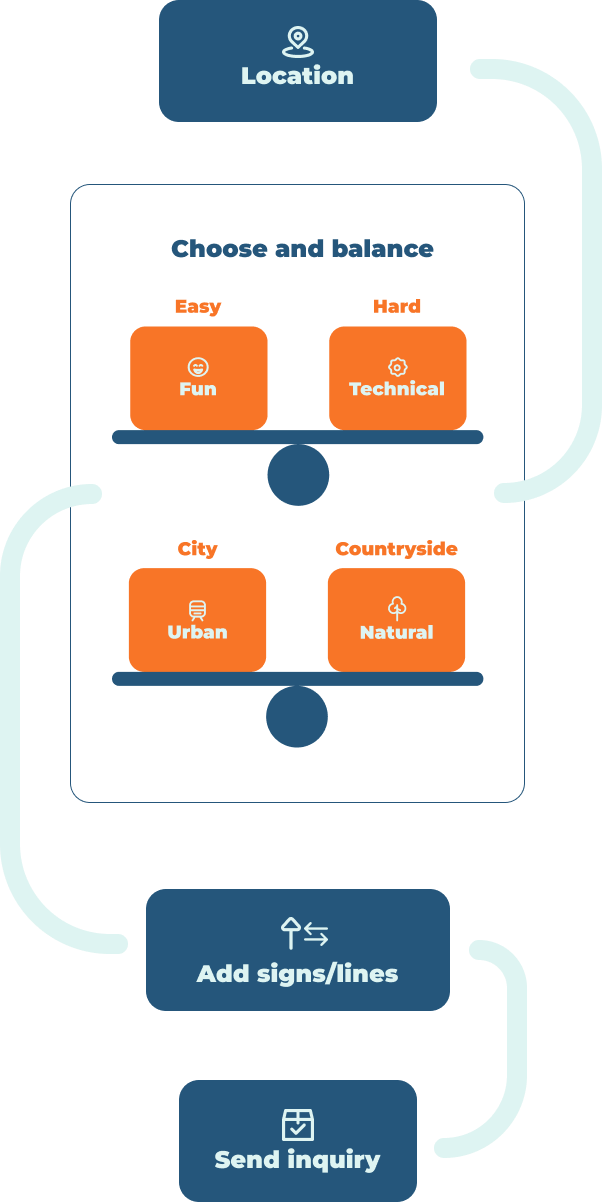
STEP 1: Assess the Location and Define Your Needs
Every cycleground has its own story—how it came to life and where it’s headed.
Understanding who the trail is for and what purpose it serves helps clarify your vision and guide the next steps.
We recommend starting with green and blue tracks, as they attract the widest range of users and offer a solid foundation for future development.
STEP 2: Choose the Best Possible Trail Route
Mapping the trail route is essential.
Whether your terrain is flat, downhill, or uphill, it determines which obstacles are suitable and where they should be placed.
For example, a drop obstacle requires a downhill landing zone for safe and effective use.
STEP 3: Select the Right Obstacles
When choosing obstacles, aim for variety and purpose.
• Use different types to keep the experience dynamic and engaging
• Place slow-speed obstacles in areas where riders need to reduce speed
• Integrate obstacles into natural features—for example, a kicker jump leading into an existing slope or landing
This approach enhances both safety and creativity on the trail.
STEP 4: Request a Quote
Once your selections are made, submit a quote request through our catalogue.
Our team will help finalize your order and ensure your track is tailored to your location, terrain, and user needs.